Dev Log: Texturing Levels in Warden
Timothy
Hey folks,
Lets delve into our method for creating and texturing the levels in our upcoming game, Warden. Every level in Warden is built using Blender 3D. The base mesh of a level is created as a single, contiguous piece, with smaller details added in-engine later.
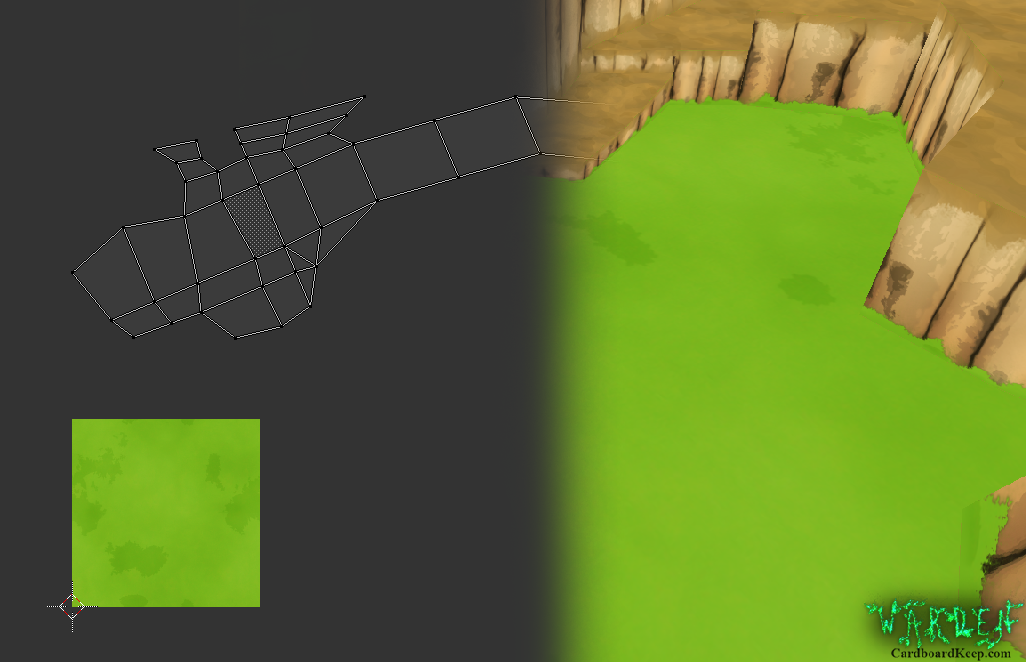
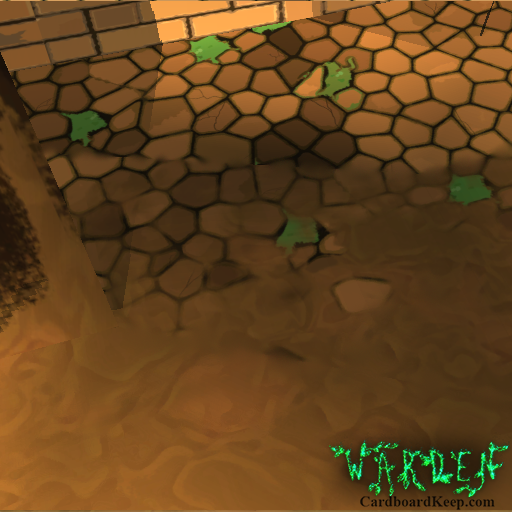
Textures are created or re-used based upon what and where the level is, and many variations upon them are used for blending purposes. The entire level is then UV mapped inside Blender. We apply textures to the faces of the level and export the mesh as an FBX. Doing so will cause Unity to create materials for each texture and assuming the texture is identically named within the project, this will automatically assign the correct texture to the material.
We do not embed our textures inside the level FBXs that would blow out the size of the project and cause double-ups of the textures in the project, which is just bloat.
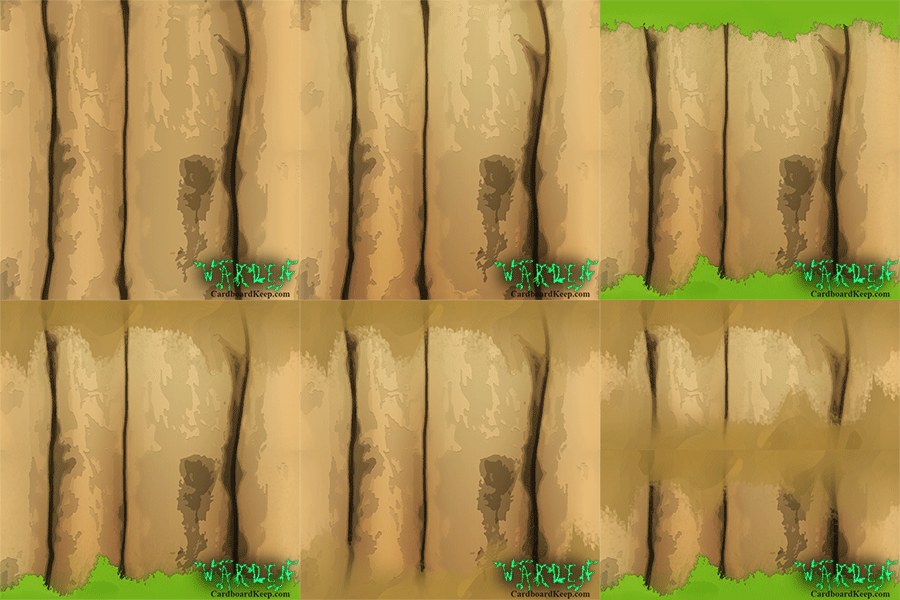
When texturing in Blender the process is simple. Textures come in three types. Tiling (On both U and V), tiling only on U (Horizontally) and tiling only on V (Vertically). Often walls of the level will need to tile horizontally while the floors will need to tile in all directions. Only very thin and tall objects will only need to tile vertically.
Generally speaking we will block out segments of our level with UV seams to divide the textures into easily managed islands. After laying down the base textures we can add extra seams to apply transitional textures to blend between texture sets.
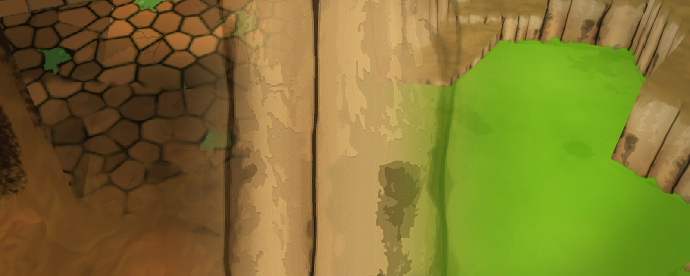
Tips and tricks: Texturing levels can be time consuming so ensuring solid mesh flow is key to not getting bogged down unwrapping. To avoid obvious seams you need to be careful about tiling textures and colours. Often large dark vertical shapes in the texture can be used to cover up a seam. making it much less obvious when playing the game.
Strengths of this technique:
- Works well in unison with low-poly level geometry.
- Easy to keep a consistent look and feel to areas.
- Faster than tweaking unique textures for each level geometry.
Weaknesses of the technique:
- Potentially uses a lot of textures (Texture atlases can help mitigate this).
- Loses effectiveness with noisier textures (Takes much longer to make them line up right).


